Showing posts with label crafts. Show all posts

Wednesday, February 1, 2012

Valentine's Sconces

Photobucket

Quick and simple, I added candy hearts to our new glass candle sconces. I'm going to have fun thinking up different things to add to the sconces for each holiday throughout the year.

Monday, March 1, 2010

Our Pirate Party

For Cecilia's 8th birthday and Niko's 6th birthday, we celebrated in Pirate style. Our plans had to changed around a bit because of an unexpected rainstorm that rolled in for just that one day... so instead of bounce houses and ball pits, we played party games inside.

Sunday, December 13, 2009

Brown Paper Package - Mailed!

Photobucket

I mailed off my package for the Brown Paper Package Exchange... here all all of the goodies that I mailed off. I hope the recipient likes them!

Thursday, October 29, 2009

Why did you put THAT on the table?

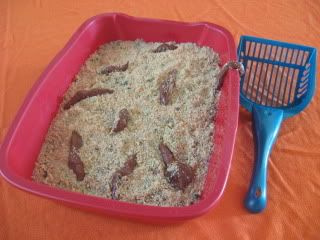
kitty litter cake

The other day Nate asked me to make a special treat for his office. Evidently he had been telling them about the kitty litter cake I made for his work way back in 1999, and everyone was clamoring for a repeat.

I'm sure you've seen kitty litter cakes before, but they're always a gross hit for Halloween or April Fool's Day. Here's how to make one of your own:

Photobucket
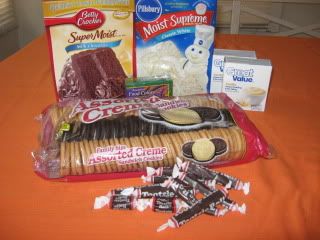
Start with your cast of characters. A box of chocolate cake mix, a box of white cake mix, a package of vanilla sandwich cookies, vanilla instant pudding, and green food coloring. Plus the eggs, water, and oil you'll need for the cakes, as well as the milk for the pudding.

Photobucket
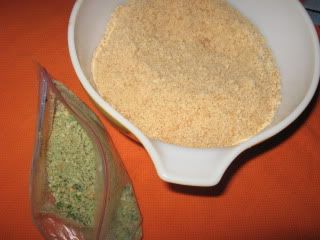
Crumble up the vanilla sandwich cookies. I only used about one and a half rows from the package shown, but this was the only package with vanilla cookies left in it at my store.

Mix up the vanilla pudding according to the package directions and put in the fridge to set.

Photobucket
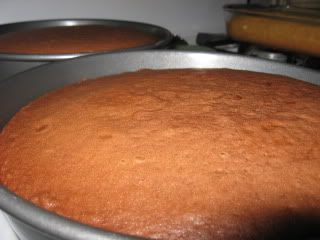
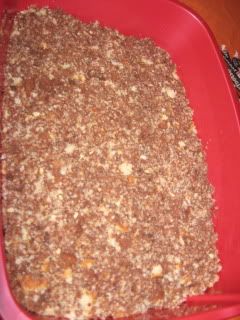
Bake the cakes according to the package directions... it doesn't matter what size pan you use because you're going to crumble them up.

Photobucket
Break the cakes up in a big bowl and mix with half of the plain cookie crumbs. Add in just enough pudding so that the cake is moist, but not soggy. I only used about half of the pudding, so one box should suffice. Dump it into your NEW and cleaned litter pan and pat it down gently into an even layer.

Photobucket
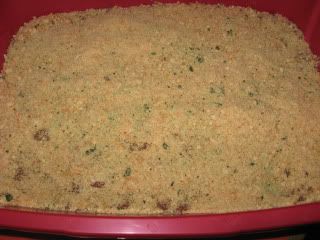
Mix the green cookie crumbs with the plain ones and sprinkle them evenly over the surface of the cake.

kitty litter cake
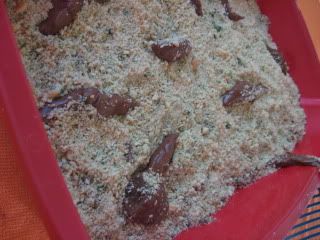
To mold the kitty poops out of your tootsie rolls, place the unwrapped candies into the microwave for a few seconds of time. About 8-10 seconds should be enough... too long and the candy melts into a crispy puddle. Have fun with shaping each candy into a unique and realistic shape, burying some halfway in the "litter" and even draping one over the side of the pan.

Serve with a NEW and washed litter scooper.

Wednesday, October 14, 2009

The lamp

Photobucket

I painted the vintage lamp just plain white for now. I think once the purple sheers are hanging behind it on the window and it has a pretty shade perched on top that the architectural interest of the lamp will be enough in just the solid color. Now I just need to find a nice replacement shade for it... I'd love to cover it in lilac gingham, but I need to find a shade that has the right proportion. The shade that came with the lamp is structurally sound but filthy (inside each of those pleats is a riot of dust and cobwebs).

Monday, October 5, 2009

Time to play "Ketchup".

Last week was busy with all of the "usual" stuff... the daily laundry, dishes, matriculation, and such. On Friday I played hooky from my chores for a couple of hours and visited a friend.
Saturday morning I was able to finally do some "me" shopping to try to replenish my very sad and neglected wardrobe. Using birthday money and gift cards I purchased 6 new tees, a camp shirt w/ matching cami, 2 pairs of jeans, a hoodie, a pair of flip flops, a pair of mary jane tennies, and 2 pairs of sock "liners". I need to buy a few more cheap $5 tees before I feel truly comfortable throwing out almost all of my stained/holey/bleached out shirts. I do need to keep a few for cleaning the bathroom and painting. Saturday afternoon was another baseball game of course.
Sunday afternoon I got to take Nicholas to see his very first play. We saw a stage adaptation of "If You Give A Mouse A Cookie" which happens to be his favorite series of books. He had a BLAST!
Niko posing
Niko and the sign
me and Niko

Today, in between grocery shopping, laundry, dishes, etc. I found the time to put a few coats of spray paint on two flower pots. The white stripes on these have been flaking off, and I just wasn't as "in love" with the bright color as I was when I bought them (on deep-clearance of course). I like them much better in their new coat of "hammered bronze" and will be filling them with mums for the season. Is it such a bad sin to use fake mums in them for a few weeks, since I will undoubtedly kill off real mums before the season is over?

Pots (before)

Pots (after)

Thursday, June 25, 2009

Oops!!

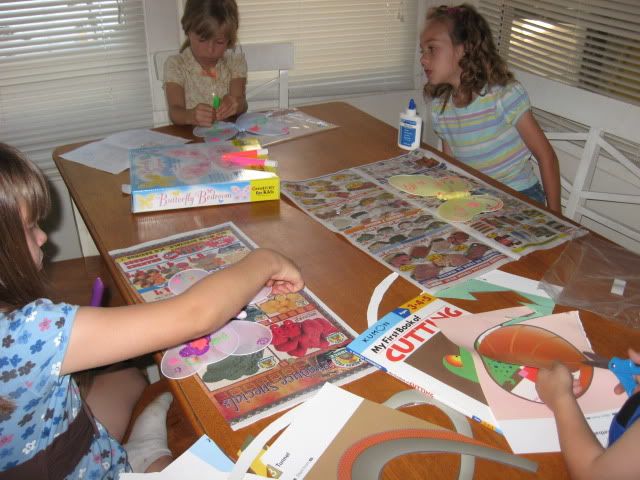
I almost forgot to write that we did get to do an art project today, a day late. As the kids were cleaning up the living room, we heard a knock at the door. When I got to the door, I could see the UPS man running back to his truck. On our doorstep, he had left a package from Creativity for Kids.

Creativity for Kids is running a special program in the month of June.
"During the month of June, Creativity for Kids is giving away 1 FREE product to each of our Facebook Fans. It's easy! Simply go to our website and select your favorite item. Next, send an email to webmaster@fabercastell.com including your name, shipping address and product selection and we will mail you your FREE product. Invite your friends to be a fan of Creativity for Kids and they can get a free product too!"
So here is what you need to do... Log in to facebook and do a facebook search for "Creativity for Kids". Once you get to their Facebook Page, click on "become a fan". Now go to www.creativityforkids.com, check out their products and pick what you want!

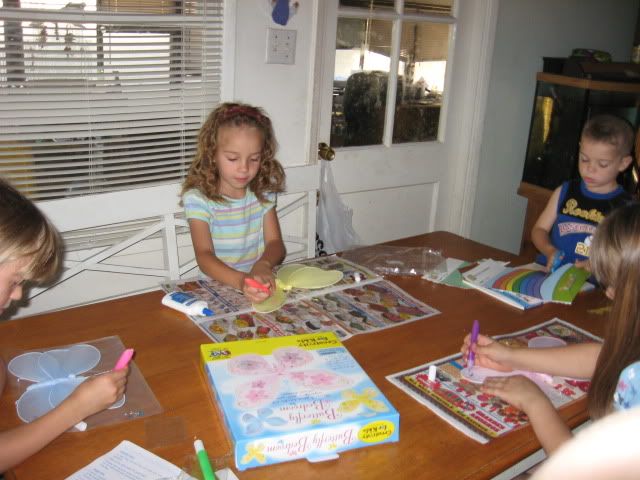
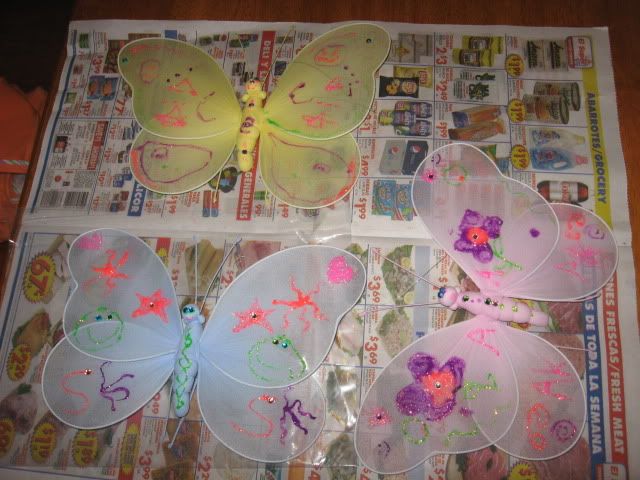
I placed our request on June 15th and received it June 25th. I picked out the Butterfly Bedroom because that is the girls' room theme!


Their finished projects:


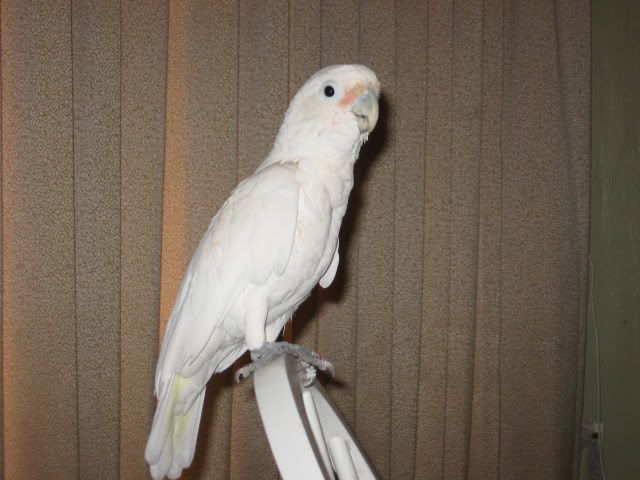
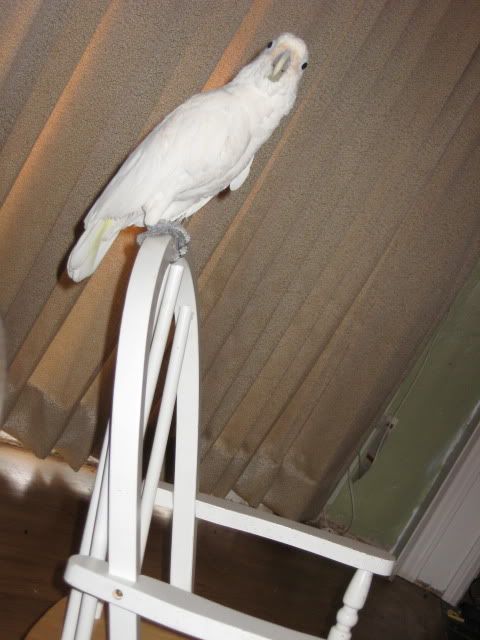
And a couple of cute pictures of my sweetie pie, Rexi:


I put him on the back of Niko's rocking chair while we watched TV. He was having a blast "dancing" to the music and making the chair rock. Such a silly baby!

Wednesday, June 17, 2009

Peacock Art

Wednesday. Art Day.

Inspired by our trip to the Arboretum, I decided we should look to peacocks for our inspiration for today's project. I looked around the web and didn't quite find anything that struck the right chord with me, so I "winged" it. I decided a mixed medium project would be fun, and the beautiful colors of their tails just called for some wax resist!

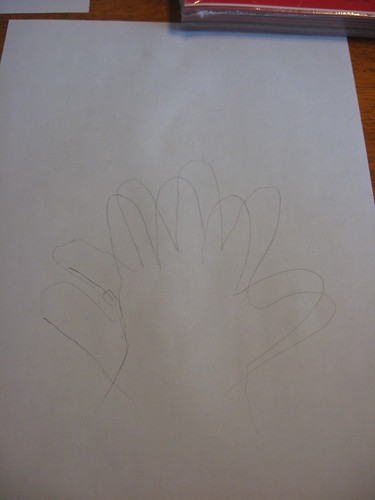
We started by tracing two hand prints on a sheet of white paper. We ultimately found that for the most balanced tail it was best to trace each hand, the left and the right, slightly overlapping.
Peacock Art

Now, flip the paper over!

Start drawing loose circles on your paper, fanned out like a peacocks tail. Looking at the colors in one of the feathers we bought in the gift shop, we went with purples, browns, blues, and greens. After drawing your circles, draw lighter green lines, and finish off with lots of yellow polka dots (the girls decided the flecks of yellow would best represent the iridescent gold in the feathers).
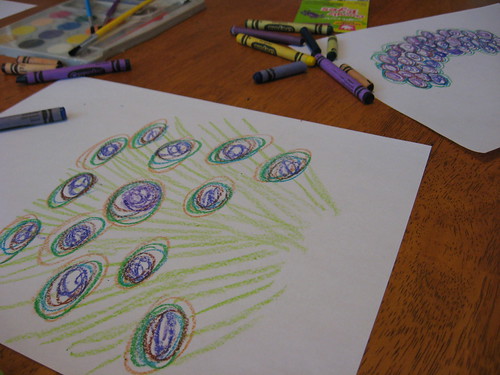
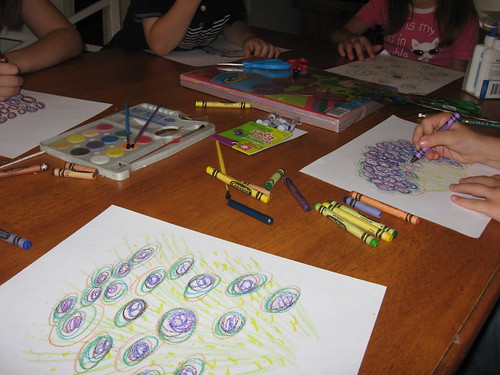
Peacock Art

Peacock Art

This part really freaked out Cecilia. I took a paintbrush and dredge it in black water color, and covered the paper. She started yelling, "No!!! Why are we painting it all black? We can't see the pretty colors!" And then she watched in amazement as the wax resisted the black paint, so that only the white paper turned black.
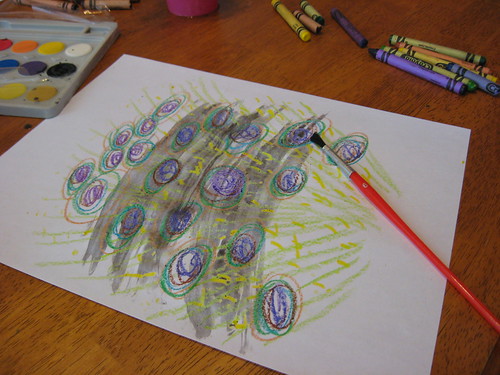
Peacock Art

While our papers dried, we started cutting out the body parts. A large blue oval for the body, a small green circle for the head, and a yellow triangle for the beak. We assembled the bodies and popped on a pair of googly eyes. Now, when your paper is dry, cut out the tail along the hand prints that you drew on the back of the paper. Glue it all together, and you're done!
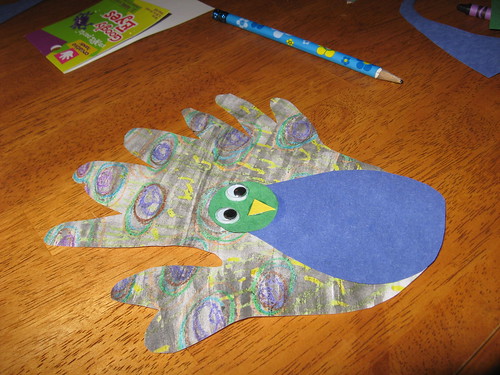
Peacock Art

Voila! Petey Peacock and his crew. (Wait, what's the word for a family of peafowl??)

Peacock Art

Tuesday, April 28, 2009

118/365

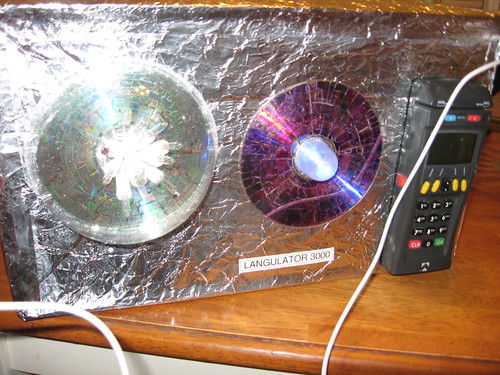
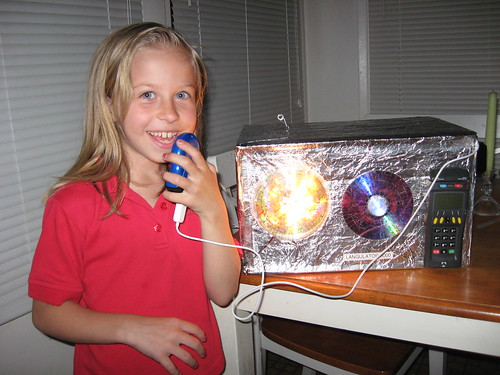
Presenting.... the Langulator 3000. (That's an alien translation device for all of you out there who may not be in the know!)

IMG_4375

IMG_4376

IMG_4377

My memory card ran out of room, so I only have this short video to share for now... Hubby used the camcorder to record her acting out her whole commercial, but I wanted to put this up so you could at least see the way it lights up.

Sunday, April 26, 2009

116/365

IMG_4358

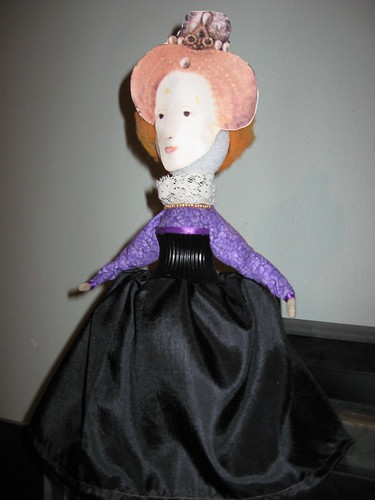
Queen Elizabeth I, made out of a vinegar bottle. This was part of Sabrina's oral biography project. They were required to make a 3-D representation of their historical figure using some sort of cylindrical base (Pringles container, water bottle, etc.) We chose this vinegar bottle because the shape of the bottle made the perfect corset once it was spraypainted with a coat of black paint!

Monday, April 13, 2009

103/365

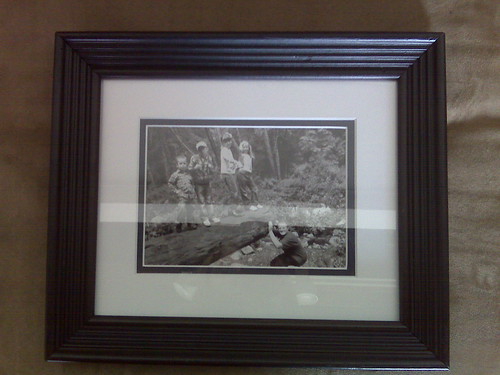
I did it. I framed the kids. Again.

Here's the second frame that I bought last week, spray painted satin black and reassembled. In order to solve my "dilemma" over having black frames, a black monogram, and a navy barn star I bought a double mat for this frame. It's white AND navy blue. The navy stripe is small, and probably not very noticeable, but I feel that it ties everything together nicely. I got the mat at Michael's... and by the way, bookmark this blog; they post the latest Joanns/Michael's/Hobby Lobby/ACMoore type printable coupons and it's so much easier than trying to search for them every time you need one!

framedkids

I can't wait to have this room repainted and get all of my goodies hung up on the walls! If all goes as planned, I should get to order the drapes in about two weeks!

_______________________________


We have been slacking on our church attendance. It seemed like every weekend was jam packed full of plans, or someone(s) in the family was sick. We made going to church for Easter a priority. The pastor again preached a lot during offering time, about how blessings pour out when you tithe. Today, we received such a blessing. We were surprised to get a packet in the mail from our mortgage company stating that we were qualified for an immense reduction in our payment, nearly halving our payment for the next two years (our interest rate being knocked down all the way to 2%!!), then increasing a bit for another two years (with interest of 4%), then ending up at a payment for the remainder of the term that is still less than our current payment, and at a lower interest rate than what we are now paying (6%)! This was truly the answer to so many of our prayers lately. We'll be mailing off all of the paperwork for it tomorrow, and it just feels like a big weight has been lifted off of our shoulders. It's a savings of 152K over the life of the loan.

_______________________________


I procrastinated a bit on writing my essay (rough draft due on Friday). I was trying to work on it, but Niko was being his usual gregarious self and I just couldn't concentrate. I ended up finishing Eclipse from the Twilight series. I haven't read the 4th book yet, but I must admit that I am more of a Jacob fan than an Edward fan. And as for the movie? I must be getting old because I thought the cutest guy in the movie was Charlie (Bella's Dad).
This week's essay topic that I chose from the three prompts that we were given is on free-will versus fate in Oedipus and Antigone.

Monday, March 9, 2009

Pay it Forward Project #2

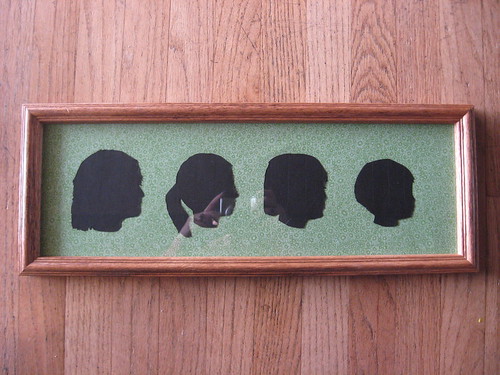
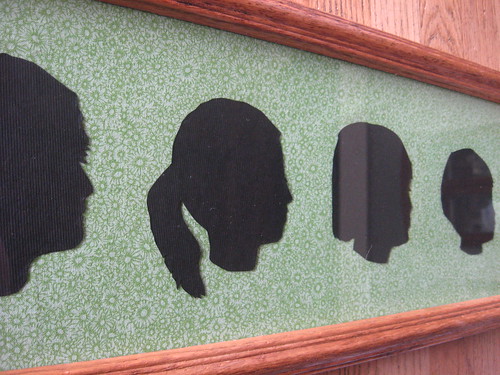
This was the second of my three Pay It Forward projects that I completed. I decided to make a framed silhouette set for my friend Chandra, featuring the profiles of her four awesome kids. Because I wanted it to be a complete surprise, I had to go hunting through her blog for photos that showed each of the kids' profiles clearly.

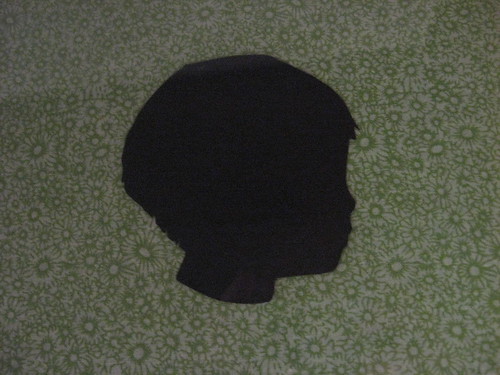
Using Microsoft Word, I cropped and resized each of the pictures so that they were proportionate to each other and printed them out. I cut out the profiles from the printed pictures and laid them right side down on the wrong side of black cardstock, and traced around them with a pen. I used scissors to cut them out.

Because the frame was 18" long, I couldn't use scrapbooking paper for the background, so I picked out this pretty fat-quarter of fabric in one of her favorite colors. I taped the fabric in place around the cardboard, and then mounted the silhouettes with scrapbooking adhesive tabs.

IMG_3986
IMG_3987
IMG_3984

Monday, February 23, 2009

Pay it Forward Project #1

Now that it has been received, I can share what I made for my first Pay It Forward project. I made a bow holder for A Frugal Friend.

It all started with this little frame:


I took the glass out of the frame, and spraypainted it with many, many coats of a glossy white spray paint.


I taped off most of the glass, except for a strip across the bottom, and added scrapbooking letters.

I gooped on lots of etching cream, and then rinsed it all off and dried it.


For the inside of the frame, I layered two colors of blue cardstock, some pretty striped vellum, and a picture of her daughter. (Face edited out for privacy.) I topped the corner of the frame with a hand-tied blue bow hotglued in place.


I finished it off with two 24-inch long strips of grosgrain ribbon to provide a whopping four feet of bow-hanging storage!

Friday, February 13, 2009

Recycled Crayon Hearts

The kids wanted to give something to the two toddlers next door, and I didn't want to go anywhere because it was raining. I saw this tutorial on Craftster and realized I had the same foil molds in the cabinet, and there are always broken crayons lurking around!
I taped the little tags on to the backs of each plastic-wrapped heart (ziploc baggies with the zipper part cut off). Their mom LOVED them (the little ones were sleeping off a nasty cold).

Tuesday, February 3, 2009

34/365


Any guesses?

Saturday, January 3, 2009

2/365


Reversible skirts for their dolls, made with a free pattern from YouCanMakeThis.com.

Tuesday, December 9, 2008

Halfway there!

I'm halfway through my week of finals. Three down, and three to go! This week is insane. I'm tired, stressed, and can't wait for it to be over with!

The girls made these today:


I got the idea from: Just Like Martha. Enjoy!

Saturday, November 29, 2008

Recycling Catalogs into Ornaments

I came across a neat little project on Craftster, that linked to this cool tutorial. I wanted to try my hand at it, so I grabbed a JCPenney catalog that came in the mail the other day, and started folding while watching TV. This is what I just finished tonight:


Give it a try! I think I'm going to make another one, for my Geography professor, out of a copy of a map that she worked on (that's her "other" job, cartography).

I also finished one more Knifty Knitter hat, so I only have to finish one more of those. What projects would you like to complete in the next few weeks?